

How To Add Flannel Lining To Dress Pants?
It's been so cold this winter! We're all wearing multiple layers of clothing to go on warm, especially when information technology'southward time to go exterior. I counted the other day and was wearing three shirts, 2 pants, and two sweaters. So spring will be a welcome arrival!
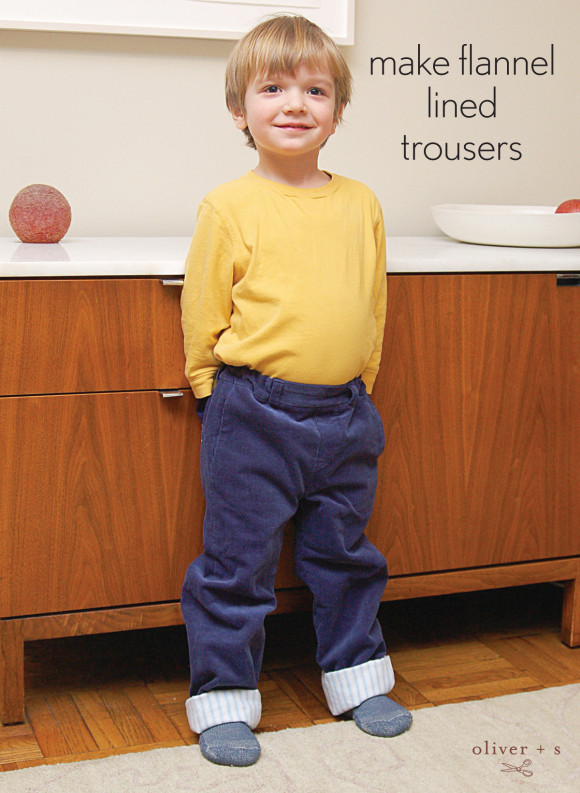
Just in the meantime, I idea it might be nice to sew some warm flannel-lined trousers for a little friend of ours, since 2 layers of warm material might eliminate the demand for two pairs of pants.
I used our Art Museum Trousers pattern for this tutorial, but any pants patterns with a dissever waistband will work. You'll demand enough fabric for the outside of the pants (I used corduroy for extra warmth), and the aforementioned amount of flannel for the lining.
Are you ready to go?
To get started, you'll cut all the pattern pieces for the Art Museum Trousers pattern in the regular style. If yous'd like to be able to scroll the hem of the pants to make cuffs and to permit the flannel prove besides as allowing for growth, I would advise calculation 2-3″ to the hem of the front and back pieces.
To make the flannel lining, y'all'll make a quick design alteration using the front pants slice and the pocket piece:
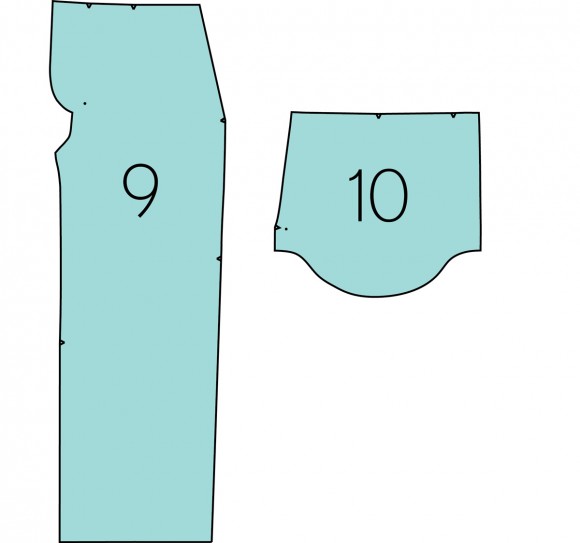
Brainstorm by folding the pocket in half as shown:
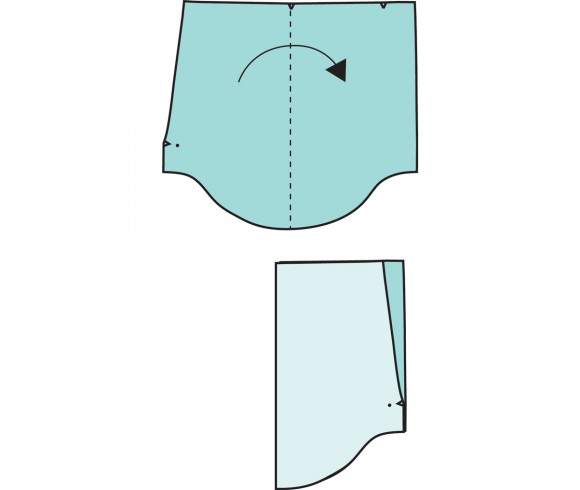 Then slide the folded pocket blueprint piece under the forepart pants pattern piece to make a whole front pants piece:
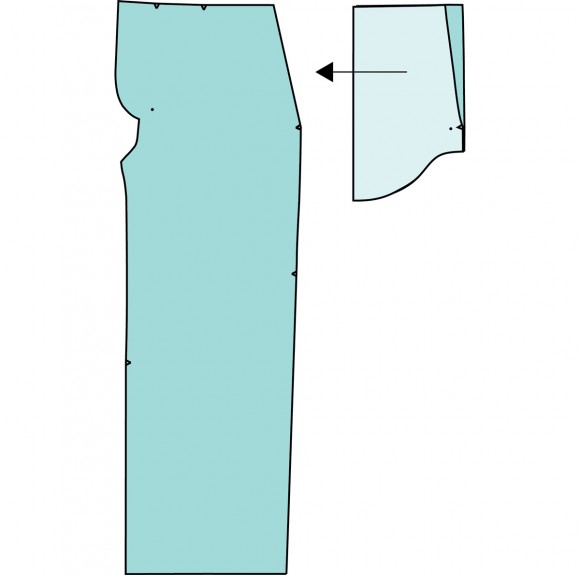
Now you take a front pants pattern piece without a pocket. 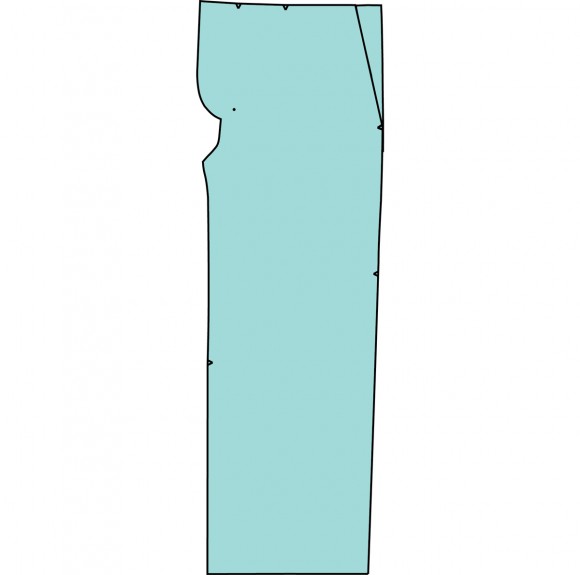
At present y'all tin cut the flannel lining: 2 fronts and two backs (plus one flannel waistband piece, which y'all may have already cut with the other pieces). Don't forget to add actress length (ii-3″) to the hem of the lining as well! I like to cut the lining 1/2″ shorter than the outside pants, but you tin can likewise cut them to be the same length if you lot prefer.
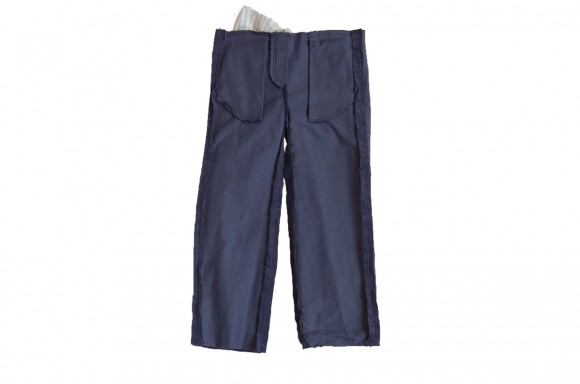
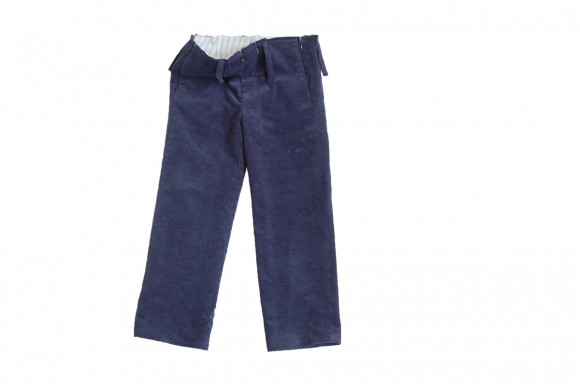
To sew the pants, you'll follow the usual directions to get together to exterior (Fabric A) pants up through the stride where the waistband is fastened. The pants volition look like this, with pockets and belt loops sewn:
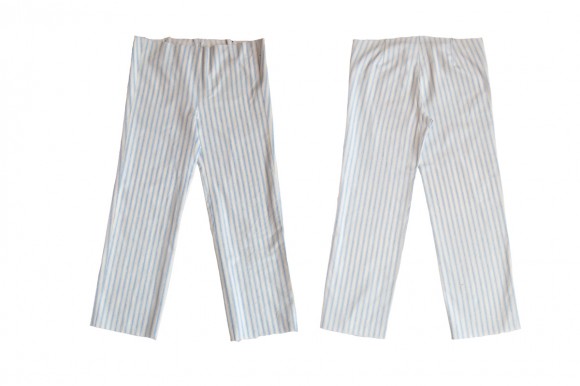
 Sewing the lining is much faster and simpler since you won't be making the pockets or belt loops, but you follow the same basic assembly instructions as the pants:
Once your lining and outside pants are assembled, now comes the fun part! Outset y'all'll stitch the lining to the pants at the hems, one at a fourth dimension. To stitch the first hem, plough the pants inside out and sideslip the right-side-out lining inside so the right sides of both fabric are together. Pin the lining to the pants at 1 leg and sew effectually the circumference of the hem with a 1/2″ seam. Only one leg can exist sewn this way considering if you stitch both legs you won't exist able to turn the pants right side out and tuck the lining inside. Then I'll show you lot a special play a joke on to hem the second leg with no paw stitching.
 Plow the pants right side out and and press the hem of the get-go leg.
If you've sewn our reversible Firefly Jacket pattern, you'll be familiar with this little play a trick on, which nosotros use to stitch the sleeves. Get-go yous'll reach inside the pants and pull the un-sewn pant leg out the pinnacle of the pants so just the pant leg is inside out. And then pin the lining to the hem, with right sides together, taking care that the lining isn't twisted. You'll exist making a little cuff at the bottom edge of the lining in gild to pin it, and in the process you'll be forming a doughnut shape with the pant leg and the lining leg. Information technology will look all wrong and impossible. Merely if yous bank check information technology before you sew (which I recommend, merely to be certain zippo is twisted) by pulling the pant leg right side out once more, you'll come across that the pants volition be neatly hemmed once this crazy seam is sewn. Turn the leg within-out again, and stitch the loop, working your manner around the tube. Information technology'south a bit of a puzzler at first, only information technology's piece of cake to sew together once you understand what'south going on.
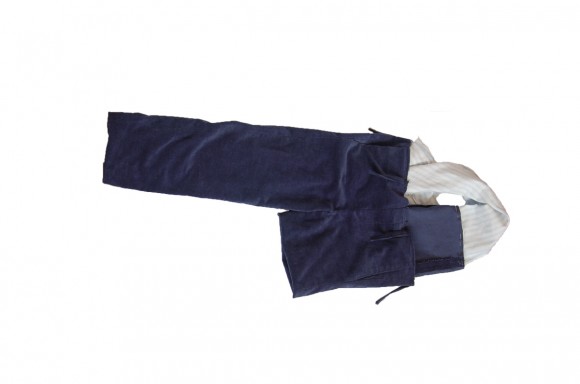
Plow the pant leg right side out and printing the hem. See? Nicely finished hems. So smooth the lining and pin information technology to the pants at the waistband.
At present yous can continue to follow the instructions to adhere the waistband and finish the belt loops in the regular manner. And that'southward all there is to information technology! Cozy flannel-line pants with simply a few extra steps and no hand stitching.
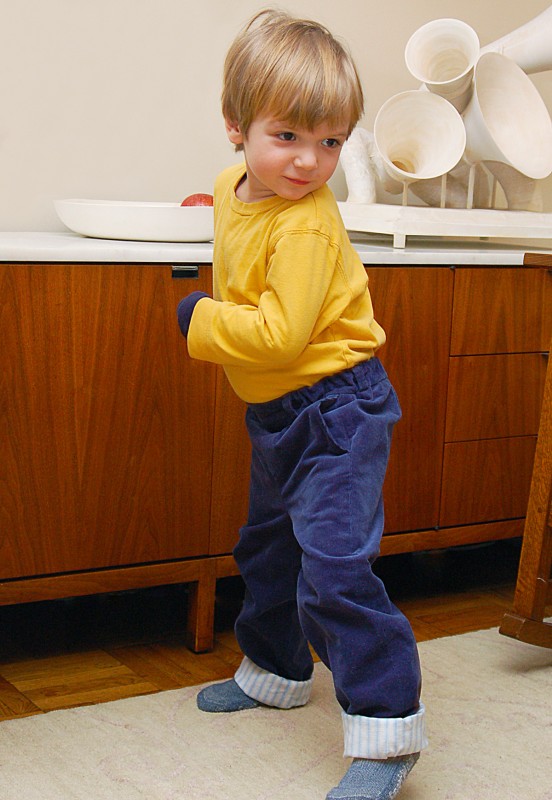
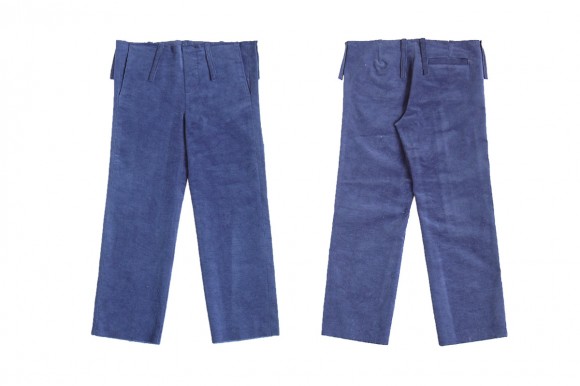
I retrieve he likes them. Later we took these photos, he left for dwelling wearing his new pants. And he left his old pants at our apartment!

How To Add Flannel Lining To Dress Pants?,
Source: https://oliverands.com/community/blog/2014/02/customizing-with-oliver-s-flannel-lined-art-museum-trousers.html
Posted by: davisonanall1964.blogspot.com
0 Response to "How To Add Flannel Lining To Dress Pants?"
Post a Comment